
Picture this: you flip the thermostat and the air hits you like a cool handshake on a scorching Tempe afternoon. That instant comfort isn’t magic—it’s the result of a system that’s been put through its paces and cleared for prime time.
In a desert city where temperatures swing from blistering to breezy in a heartbeat, a missed leak or a lazy fan can turn your sanctuary into a money‑draining nightmare. Regular testing and inspection keep your HVAC humming, your bills low, and your peace of mind intact.
In the pages ahead we’ll break down the exact steps, tools, and red‑flags you need to know to keep your system in top shape, so you can stay cool without the guesswork. Ready to get the inside scoop? Let’s dive in.
Understanding HVAC Testing & Inspection Basics in Tempe
In a city where summer feels like a furnace and winter can surprise you with a chill, your HVAC system is the silent workhorse that keeps the indoor climate steady. Regular testing isn’t a luxury; it’s the only way to catch a failing compressor or a clogged coil before they turn your utility bill into a nightmare.
What a proper inspection actually covers
- Airflow measurement – ensures every room gets the right amount of conditioned air.
- Refrigerant pressure check – verifies the system isn’t leaking or over‑charged.
- Electrical safety scan – looks for loose connections, worn wires, and proper grounding.
- Thermostat calibration – makes sure the temperature you set is the temperature you get.
Tempe’s building codes require a certified technician to perform these checks at least once a year, and many homeowners opt for a semi‑annual review to stay ahead of the heat wave. Skipping the inspection means you’re gambling with comfort, energy costs, and potentially costly repairs down the road.
Core System Components Every Inspection Must Cover
The Furnace & Heat Exchanger
First stop: the furnace. A visual sweep for cracks, rust, or soot buildup can save you from a carbon‑monoxide nightmare. Check the heat exchanger for signs of fatigue—tiny holes or warped metal are red flags that demand immediate attention.
Air Conditioner & Condenser
The outdoor unit is the workhorse that battles Tempe’s scorching sun. Make sure the coil is clean, the fan spins freely, and refrigerant lines are free of oil stains. Low refrigerant pressure usually means a leak, which can jack up your energy bill fast.
Thermostat, Controls & Ductwork
Modern thermostats should talk to the system without hiccups; verify calibration and replace batteries if needed. Then, trace the duct network for disconnected sections, sagging hangs, or insulation gaps—these are the silent money‑suckers.
- Burner assembly: look for uneven flame patterns.
- Condenser fan motor: listen for grinding or wobbling.
- Refrigerant lines: feel for frost or moisture.
- Air filter: replace if it’s clogged; a clean filter keeps airflow steady.

Essential Tools and Instruments for Accurate Testing
When you walk into a Tempe home on a 110‑degree day, the first thing you need is confidence that your gear can spot a problem before it blows a fuse. The right tools turn guesswork into hard data, and that’s the difference between a quick fix and a recurring nightmare.
Must‑Have Handheld Gadgets
- Digital Manifold Gauge – reads pressure, temperature, and superheat in one sweep.
- Thermocouple or Infrared Thermometer – catches hot spots on ducts and coils faster than a glance.
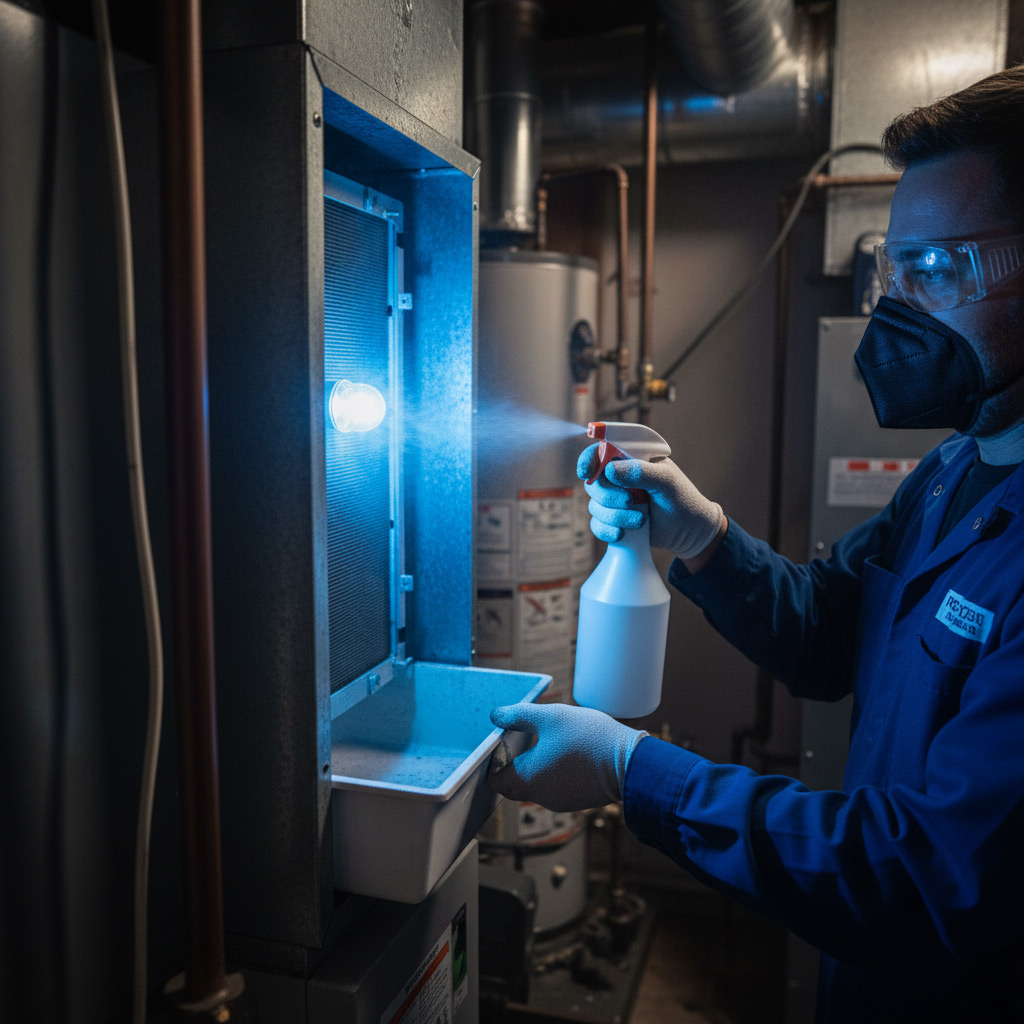
- Leak Detector (electronic or UV‑trace) – finds refrigerant escapes before they drain your wallet.
- Multimeter with HVAC‑specific settings – checks voltage, resistance, and continuity on motors and controls.
These devices are light enough to carry around the house, yet precise enough to give you numbers you can trust. A quick snap of the manifold and a glance at the thermometer will tell you if the system is breathing right.
Precision Instruments That Pay Off
- Psychrometric Chart App – translates temperature and humidity into actionable data.
- Airflow Hood or Anemometer – measures CFM to verify that fans are moving the right amount of air.
- Combustion Analyzer (for gas furnaces) – checks CO, O₂, and stack temperature in seconds.
- Calibration Kit – keeps your meters on point, because a drifted gauge is a costly lie.
Investing in calibration means you won’t chase phantom problems later. A properly tuned analyzer can spot a 5% efficiency loss before the homeowner feels a draft.
Smart Helpers for the Modern Technician
- Bluetooth‑enabled Sensors – stream real‑time data to your tablet.
- Cloud‑based Reporting Software – logs results, schedules follow‑ups, and sends the homeowner a clear summary.
- Portable Power Pack – keeps your tools alive when the job site is out in the desert heat.
These tech toys cut paperwork and keep you looking like a pro. When the data syncs automatically, you spend more time fixing and less time scribbling.
Step‑by‑Step Residential HVAC Inspection Procedure
First, shut off the breaker and lock out the unit – safety first, no surprises while you’re digging in. Grab a flashlight, a digital manifold gauge, and your trusty checklist; you’re about to treat the system like a patient.
Next, move through the house methodically: start at the thermostat, work your way to the air handler, then finish at the outdoor condensing unit. Keep notes as you go; a quick scribble now saves a costly call later.
Preparation & Safety
- Turn off power and label the breaker.
- Wear safety glasses and gloves.
- Verify refrigerant pressure with a manifold gauge set.
- Check for leaks using soapy water or an electronic detector.
Visual Walk‑through & Component Check
- Inspect thermostat settings and replace dead batteries.
- Examine the air filter; replace if it’s more than 30% clogged.
- Look for disconnected or crushed duct sections.
- Ensure the condensate drain is clear – a blockage means water damage.
Performance Testing
- Start the system and let it run five minutes.
- Measure supply vs. return air temps; aim for a 20‑25°F delta.
- Check fan motor amperage; it should stay within spec.
- Run a combustion analysis on gas furnaces – CO should stay below 0.5%.

Common Red Flags, Troubleshooting Tips, and Cost‑Saving Fixes
When your system starts acting up, the first clue is usually right in front of you. Look for anything that feels off, and you’ll catch problems before they drain your wallet.
Red Flags to Watch For
- Weak airflow – rooms feel stuffy, vents barely move.
- Unusual noises – rattles, squeals, or a high‑pitched whine.
- Frequent cycling – the unit turns on and off every few minutes.
- Odd odors – musty, burning, or chemical smells.
Spotting one of these signs should trigger a deeper dive. Ignoring them is a fast track to a busted compressor or a sky‑high bill.
Troubleshooting Tips
- Check and replace air filters every 30‑45 days; a clogged filter chokes the system.
- Inspect thermostat settings; make sure it’s on “auto” not “on” for continuous fan run.
- Seal any visible duct leaks with foil‑backed tape; even a small gap can waste 20% of conditioned air.
- Verify the condensate drain isn’t clogged; standing water can trigger a safety shut‑off.
These quick fixes take under an hour and can save you a callout fee. Keep a notebook of what you’ve checked – it speeds up any pro’s visit.
Cost‑Saving Fixes
- Upgrade to a programmable thermostat; set back temperatures 8‑10°F at night.
- Schedule a professional coil cleaning once a year; dirty coils force the compressor to work harder.
- Balance your system by adjusting dampers; rooms that are too hot or cold get extra load.
- Consider a variable‑speed blower motor; it uses less electricity while maintaining comfort.
Invest a little now, and you’ll see the payoff on your next electric bill. The goal is to keep the system humming without breaking the bank.
Case Study: Revitalizing a Tempe Home’s HVAC Efficiency After a Missed Leak
When the Martinez family called, their electric bill had spiked like a desert mirage. A tiny refrigerant leak—barely a whisper—had slipped past their annual check‑up, forcing the compressor to work overtime. Fixing that leak turned a money‑sucking nightmare into a modest, predictable expense.
What the Inspection Revealed
Our tech pulled the unit apart and ran a pressure decay test. The results? A pinpointed puncture in the suction line, right where the copper met the aluminum. The crew also spotted:
- Dust‑clogged evaporator coils that were throttling airflow.
- Worn fan motor bearings causing a subtle wobble.
- Thermostat calibration off by 3 °F.
Each issue was addressed in a single service window. The leak was sealed with a certified brazing kit, coils were cleaned, the motor got a fresh bearing set, and the thermostat was re‑programmed. After the work, the system’s SEER rating jumped back to its original spec.
Three weeks later, the Martinez’s utility statement showed a 27 % drop in cooling costs. They also reported a steadier indoor temperature—no more hot spots in the living room. Bottom line: a missed leak can drain your wallet, but a thorough inspection catches it before it becomes a disaster.
Final Words
Before you close the thermostat, give yourself a quick mental checklist: Is the airflow steady? Did you log the pressure readings? If the answers are “yes,” you’ve just saved yourself a month of wasted energy and a heap of repair tickets.
Quick Recap
- Verify refrigerant levels and look for signs of leaks.
- Inspect ductwork for gaps and proper insulation.
- Confirm that safety controls engage as they should.
Remember, a well‑tuned HVAC system is a silent partner in your comfort. When you keep the routine tight, you’ll hear less clatter and see lower utility bills. Need a second set of eyes? Our team specializes in the exact tests we just walked through—check out our HVAC Testing And Inspection page for a fast, no‑nonsense quote.
People Also Ask
What is included in a standard HVAC inspection in Tempe, AZ?
A standard HVAC inspection in Tempe covers the furnace, air conditioner, heat pump, ductwork, thermostat, and ventilation system. Technicians check for proper airflow, refrigerant levels, electrical connections, and overall system safety.How often should I schedule HVAC testing and inspection for my home in Tempe?
Most experts recommend a professional inspection twice a year—once before the cooling season and once before heating. This helps catch issues early and maintains optimal efficiency.What are the most common HVAC problems found during inspections in Tempe?
Common issues include refrigerant leaks, dirty or clogged filters, worn-out belts, and uneven temperature distribution. These problems can reduce efficiency and increase utility bills.Can I perform any HVAC testing myself before calling a professional?
Homeowners can check filter condition, thermostat settings, and listen for unusual noises. However, accurate pressure readings and leak detection require specialized tools only a certified technician possesses.How much does a comprehensive HVAC inspection typically cost in Tempe?
Prices usually range from $150 to $300, depending on system size and the depth of the inspection. Many companies offer discounts when you schedule maintenance or repairs together.Tempe HVAC brings over a decade of professional heating and cooling service to the Tempe community. Their team of certified technicians combines local knowledge with industry‑leading practices to keep homes and businesses comfortable year‑round. Committed to reliable service and transparent communication, they prioritize the unique needs of each Tempe customer.
Need HVAC?
We deliver fast, results‑driven solutions for homes and businesses in Tempe, AZ and neighboring communities. Service covers the 85281, 85282, 85283, 85284, and 85285 ZIP codes.
Request HVAC Quote